
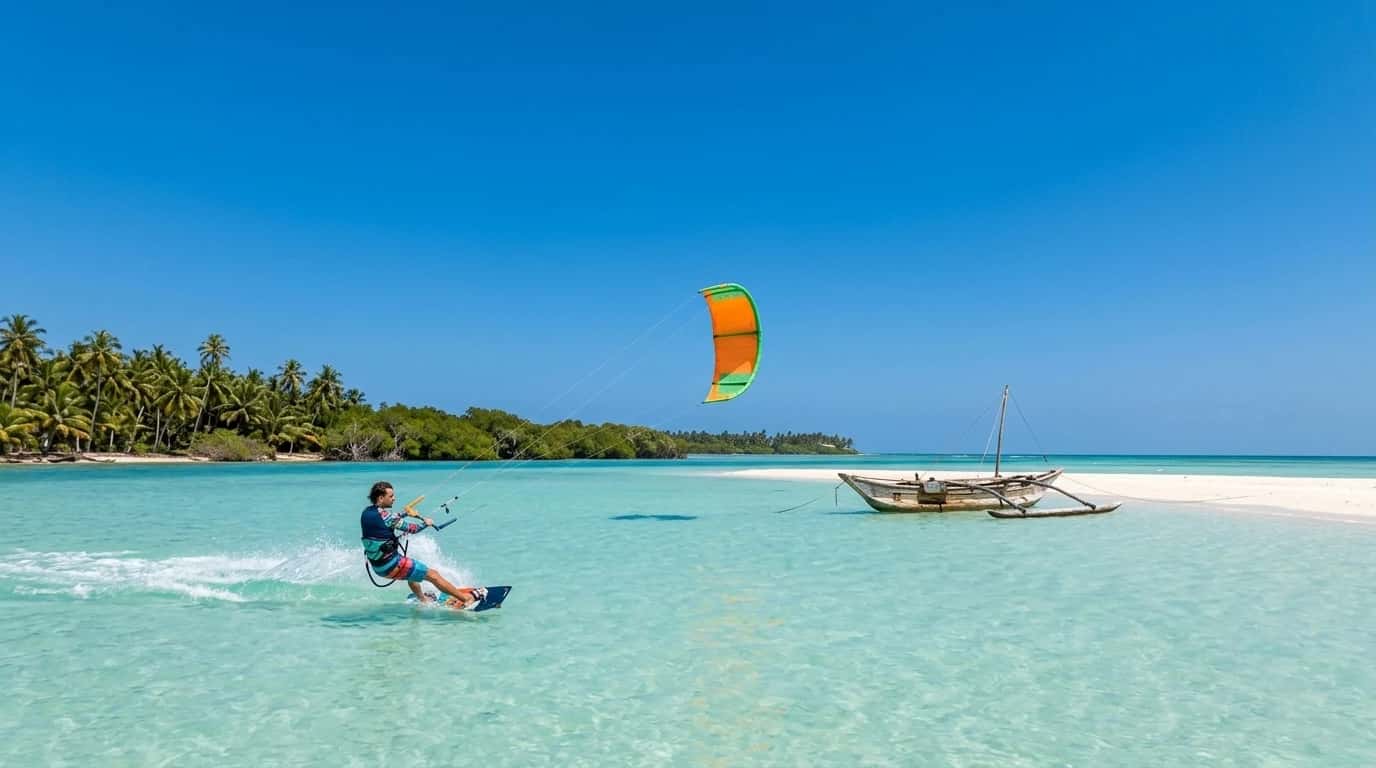
Kitesurfing is one of the most visually spectacular sports on earth, and one of the hardest to photograph well. The riders move fast, the kite is often far from the action, the light bounces off water in every direction, and everything happens in a split second. Getting it right takes the right gear, the right settings, and an understanding of what is about to happen before it does. This guide covers the best tips for kitesurfing photography, from camera settings and lens choice to timing, light, and the locations that produce the most striking images.

Why Kitesurfing Photography is Uniquely Challenging
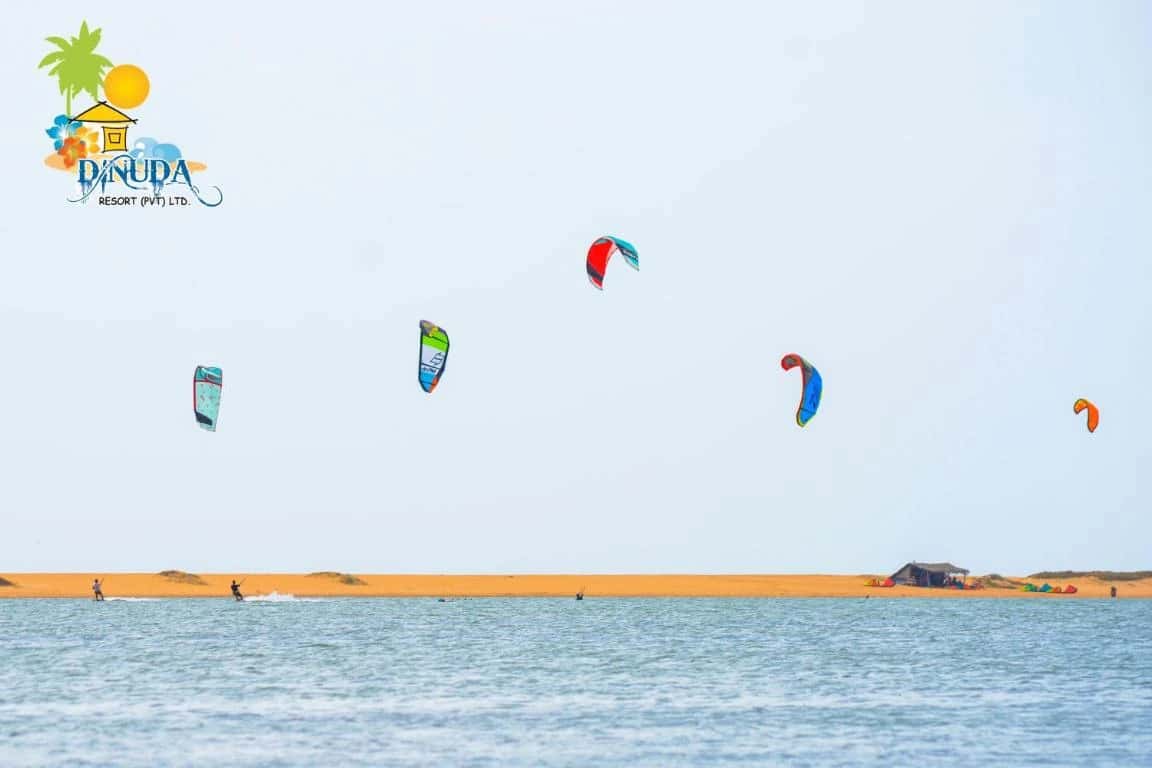
Most action sports happen in one plane: runners move along a track, footballers move across a pitch. Kitesurfing is three-dimensional. The rider is on the water, the kite is thirty metres above them, and both are moving independently in different directions at the same time.
A good kitesurfing photograph captures both elements in a single frame while also conveying speed, height, and the wild relationship between human and wind. That combination is what makes it challenging, and what makes a great shot so satisfying when it comes together.
The Right Gear for Kitesurfing Photography
Camera Body
You do not need the most expensive camera on the market, but you do need one with a fast continuous shooting mode and reliable autofocus tracking. A mirrorless or DSLR body with at least 8 to 10 frames per second in burst mode gives you enough coverage to capture the peak of a jump or trick. Entry-level cameras with limited burst speeds will leave you with a lot of missed moments.
Lens Choice
This is the single most important piece of gear. A zoom lens in the 100-400mm range is the standard choice for kitesurfing photography, and for good reason. Riders are typically 50 to 150 metres away from shore, and a shorter lens will not fill the frame adequately.
A 70-200mm f/2.8 works well for beach-level shooting where riders come close, and the wider aperture helps in lower light. For boat-based photography, where you can get closer to the action, a 70-200mm is often sufficient.
Protecting Your Gear
Water and sand are the two biggest threats to your equipment at a kitesurfing location. Sea spray from breaking waves and wind-driven sand both find their way into everything.
Invest in a waterproof camera cover or housing before your first shoot. Use a UV filter on your lens to protect the front element from spray and sand. At a lagoon location like Kalpitiya, where the water is calmer and the environment is more controlled than an ocean beach, the risk is lower, but protection is still essential.
Camera Settings for Kitesurfing Photography
Shutter Speed
Fast shutter speed is non-negotiable. A kitesurfer leaving the water at full speed needs a minimum of 1/1000 second to freeze the motion cleanly. For high jumps and tricks, 1/2000 second or faster eliminates all blur and captures the rider with genuine sharpness.
In strong midday sun, this is straightforward. In the golden hour (the hour after sunrise and before sunset, when the light on the Kalpitiya lagoon turns amber and the water goes copper), you will need to push your ISO higher to maintain fast shutter speeds. Most modern cameras handle ISO 1600 and above cleanly enough for print.
Autofocus Mode
Set your camera to continuous autofocus, tracking mode. This keeps the focus locked onto a moving subject even as they cross the frame. Most modern cameras have subject-tracking autofocus that handles kitesurfers well once it locks onto the rider.
Avoid single-point autofocus for moving subjects. By the time you have focused and shot, the rider has already moved.
Burst Mode
Use continuous burst shooting for every action sequence. Shoot in short bursts of three to five frames rather than holding the shutter down continuously, which fills your buffer quickly and can cause the camera to slow down. A deliberate burst at the anticipated peak of a trick produces better results than spraying and hoping across a hundred frames.
Aperture and Depth of Field
A wide aperture (f/2.8 to f/4) separates the rider from the background and produces a cleaner, more professional image. A smaller aperture (f/8 to f/11) keeps the kite sharp even when it is in a different focal plane from the rider, which is useful when you want both elements in focus in a single frame.
The Best Tips for Kitesurfing Photography: Timing and Positioning
Learn the Sport Before You Shoot It
The single most useful thing a kitesurfing photographer can do is spend time watching riders before picking up the camera. Kitesurfers give consistent visual cues before jumps and tricks: the kite moves to twelve o clock, the rider loads the board edge, the body leans back. Once you recognise these signals, you can pre-focus on the spot where the rider is about to be rather than chasing them after they have already left the water.
At a spot like Kalpitiya, where the kitesurfing beginner's guide gives you a strong overview of what riders are doing and why, spending an afternoon watching before shooting pays dividends immediately.
Position Yourself Downwind
The best position for shore-based kitesurfing photography is downwind of the riders, so they are travelling toward or across you rather than away from you. This gives you the front of the rider and the full kite above them in a single frame.
On the Kalpitiya lagoon, the wind blows consistently from the southwest in the summer season and the northeast in the winter season. Arriving early and positioning yourself accordingly means the riders will naturally come toward you throughout the session.
Shoot From Low
A low shooting angle, from water level or just above ground level, adds drama to kitesurfing images and emphasises the height of jumps. A rider two metres off the water looks more impressive photographed from knee height on the shore than from standing height.
If you have access to a boat, getting out onto the lagoon gives you water-level angles that are impossible from shore, and allows you to get much closer to the action.
Light: The Golden Hours
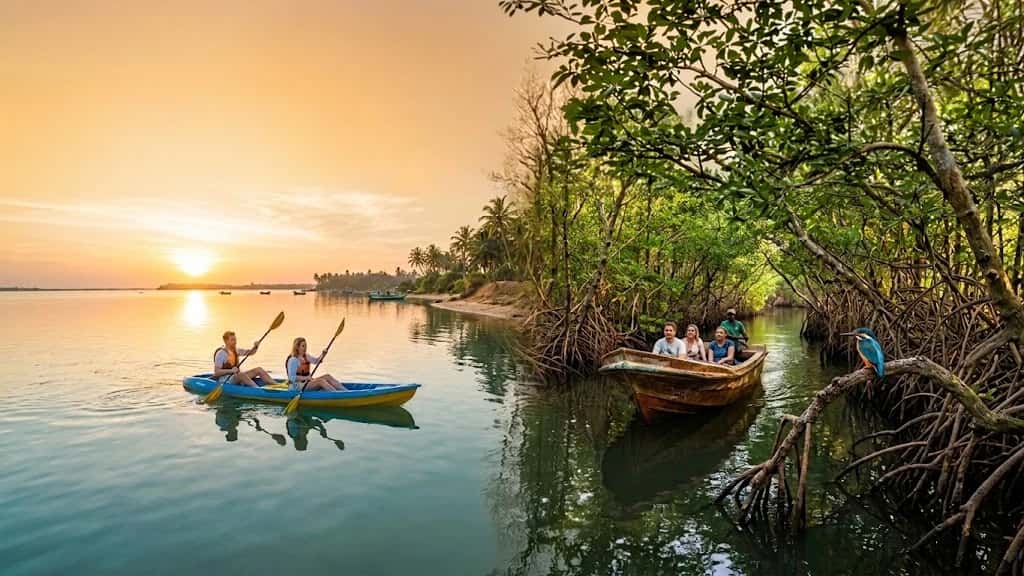
The light at golden hour transforms a technically correct kitesurfing photograph into a great one. On the Kalpitiya lagoon, sunrise comes early and the water is often glassy and still, with light raking across the surface at a low angle. The kites catch the warm light from below and the water reflects it back.
At sunset, the sky over the Indian Ocean turns amber and violet behind the riders, and the silhouette potential is extraordinary. A rider and kite backlit against a Kalpitiya sunset is one of the most striking images the sport produces.
Schedule your shoot sessions around the golden hours rather than the middle of the day, when the overhead sun creates flat, harsh light and heavy shadows on the rider's face.
Composition Tips
Include Both Rider and Kite
A common mistake in kitesurfing photography is focusing entirely on the rider and losing the kite above them. The kite is half the sport. Leaving headroom above the frame to include the full kite produces images that immediately read as kitesurfing rather than surfing or wakeboarding.
Use Leading Lines
The kite lines, the wake trail on the water, and the shoreline all work as natural leading lines that pull the viewer into the frame. Composing with these elements creates images with stronger visual flow.
Background Matters
The flatwater lagoon at Kalpitiya produces clean, uncluttered backgrounds that make riders and kites stand out clearly. The open ocean side produces more textured, dramatic backgrounds with waves and chop. Choose your position based on which background serves the image you are trying to create.
For reference and to see the range of spots available from a base in Kalpitiya, see our guide to things to do and experiences in Kalpitiya.
Post-Processing
A well-shot kitesurfing image needs relatively little post-processing. The core adjustments in software like Adobe Lightroom are:
- Exposure: bring highlights down slightly to recover detail in bright sky and water
- Contrast: a moderate increase adds drama and punch to action images
- Clarity and texture: a small increase brings out detail in the kite fabric and board spray
- Colour: on golden hour images, a slight increase in orange and yellow saturation enhances the warm light without looking artificial
Avoid heavy-handed processing that makes images look unnatural. The goal is to show what was genuinely there, with the best possible clarity and impact.